
Don’t panic — act fast when your roof starts leaking
You never forget your first roof leak. For me, it was a 2 am downpour in Inner West, Sydney. I’d just moved into a rental with “minor wear and tear,” but that night, water came straight through the ceiling and into my laptop bag. I learned two things quickly: leaks move fast, and so should you.
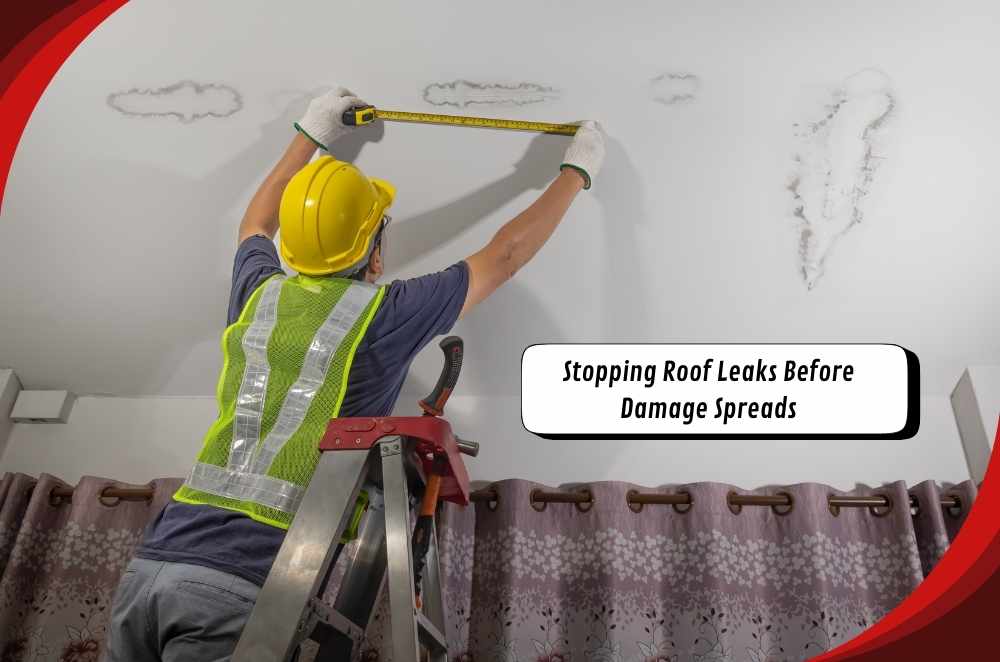
If you’re facing a sudden ceiling drip, sagging plaster, or water running down your walls, you need more than a mop — you need an urgent roof repair service that understands how to handle emergencies. This guide walks you through the first 24 hours, who to call, what to patch, and how to avoid major damage.
Know the signs: when it’s more than just “a little water”
Not all leaks are obvious. Some only show up after days of rain, while others can be triggered by a single broken tile or a clogged downpipe. The key is to spot the issue early and act before it becomes a ceiling collapse.
Common emergency leak signs:
Water dripping or pooling inside
Bubbling or stained paint on ceilings/walls
Mould or musty smells appearing suddenly
Roofing sheets or tiles are visibly out of place
Light shining through gaps in the roof cavities
Sagging plaster or soft timber when touched
Leaks don’t fix themselves. If you're seeing any of these signs, it’s time to find help fast — and figure out whether you’re dealing with storm damage, age-related wear, or a one-off structural fault.
Not sure how to diagnose the issue? Keep reading or check out this detailed internal guide on signs of a leaking roof to assess what you’re dealing with.
Step 1: Stay safe, stay dry
When water starts flowing in, it’s natural to rush toward the problem. But roof emergencies often involve damaged electrical systems, weakened ceilings, or structural risks. Before grabbing a ladder or removing wet insulation, stop and assess the risk.
Do this first:
Move electronics, bedding, and valuables out of harm’s way
Put buckets under drips — line them with old towels to soften the sound
Use towels or mops to prevent pooling on floors
Turn off the electricity to wet rooms if safe to do so
DO NOT walk on a wet or sagging roof under any circumstances
I’ve seen homeowners slip trying to check the roof from above. If you can’t locate the leak safely from the attic or ceiling cavity, wait for professional help.
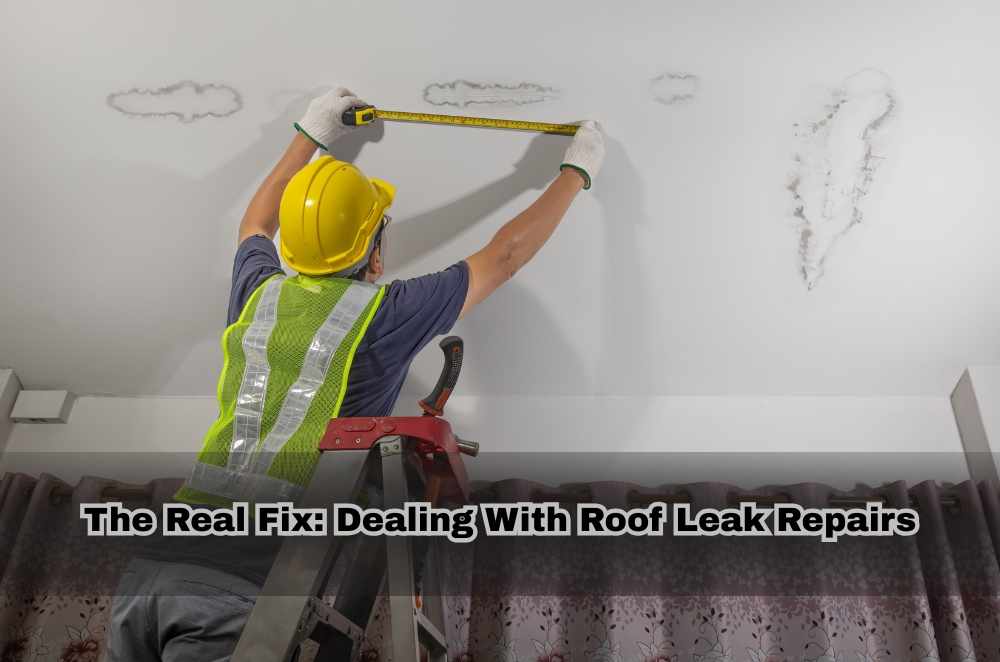
Step 2: Call a licensed emergency repairer
Time is everything during a storm. The longer a leak goes unresolved, the more damage you risk — not just to your ceilings and walls, but to insulation, wiring, timber frames, and even your home’s structure.
That’s where an urgent roof repair service can make the difference. These providers are often available 24/7 and know how to make your property safe before delivering a permanent fix.
What to expect from a proper emergency response:
Rapid arrival (often within 1–2 hours in metro areas)
Leak containment or temporary tarp installation
Roof cavity inspection for hidden issues
Advice on whether your roof needs minor repairs or full restoration
Written reports for insurance claims
Speaking of claims…
Step 3: Know your rights for insurance claims
If your leak was caused by a storm, cyclone, falling tree, or another insured event, you might be entitled to emergency repairs covered by your home insurance.
Unfortunately, many homeowners don’t realise they can apply for assistance until it’s too late. Delays in action can also weaken your claim, especially if the damage is made worse by inaction.
To get ahead, review this federal guide on roof damage insurance claim options, especially if you're in a declared disaster zone.
Pro tips for claims:
Photograph damage before and after repair
Keep receipts and written quotes
Avoid cash-only jobs — insurers won’t reimburse unlicensed trades
Report incidents to your insurer as soon as safe
In one case I worked on, a family waited three days before contacting their insurer — by then, internal mould had spread and reduced the payout by thousands. Don’t delay.
Step 4: Use temporary fixes until repairs are done
Temporary options include:
Tarpaulin secured with roofing nails or batten boards
Waterproof tape over cracks in flashing or valleys
Roofing cement to plug small holes or around vents
Buckets or “water catch systems” inside ceiling cavities
I once used a double-layer tarp, sandbags, and duct tape to stop a ridge cap leak during a storm. It wasn’t pretty, but it bought us 48 hours until repairs could be done.
Need more advice on doing this safely? A solid authority guide on temporary roof patch solutions can walk you through the steps without risking further damage.
Step 5: Plan for prevention next time
Start here:
Get a licensed roofer to inspect annually
Trim back overhanging trees
Clear gutters and downpipes seasonally
Check the ceiling spaces after heavy rains
Upgrade older materials (e.g. brittle underlay, rusted screws)
What to avoid during an emergency
Quick fixes are fine, but avoid these common mistakes:
Using silicone sealants on major cracks — they rarely hold
Ignoring leaks during “light rain” — small drips worsen over time
Hiring uninsured or unlicensed workers
Attempting high-risk roof access without equipment
Final thoughts: be proactive, not reactive
There’s no such thing as a good time for a roof leak. But when it happens, your response makes all the difference.
In my case, acting quickly meant I saved my furniture, filed a successful insurance claim, and got a new roof section installed within a week. I’ve seen others hesitate — and end up dealing with collapsed ceilings, ruined floorboards, and drawn-out repairs.
So if you’re facing a leak, don’t just cross your fingers and hope it’ll pass. Find a reputable urgent roof repair service and take the steps above — your home (and your sanity) will thank you.


Write a comment ...